I know it’s not food related… but I have another little DIY project I want to share… When my youngest was old enough to move out of a toddler bed, I started searching for a suitable bed that both my girls could share. Most bunk beds scare me with the height of them when they are both still so young. My son has a loft bed and I am much more comfortable at the height of that. The Kura bed from Ikea was perfect for my needs, but unfortunately not very pretty or girly at all! A google search proved that it was possible to give the kura bed a pretty makeover, there are some very clever and wonderful beds out there to draw inspiration from.

Materials: Ikea Kura bed, spray wood primer and high gloss white paint. Pink fabric, elastic curtain cord with hooks, blue dance sequin trim, ribbon, 2x wooden “princess” words, 4 x wooden swirls, stick on gems and 2 x princess wall decals from Spotlight. Barbie pictures from Lindcraft. Extra slats from Ikea to raise the bottom mattress off the floor.
Description: I was hoping to create a pretty little retreat fit for 2 little princesses. Since they share a room, I wanted them to have their own special space to call their own that they can enjoy and want to be in.
They both love Barbie and the Disney princesses. I was originally going to re-cover the canopy that fits on the bed in pink, but thought buying doona covers that had the same blue in it as the canopy would help to tie it all together and save me extra work. Disney princesses with Snow White and Cinderella worked perfectly as they have the right blue in their dresses.

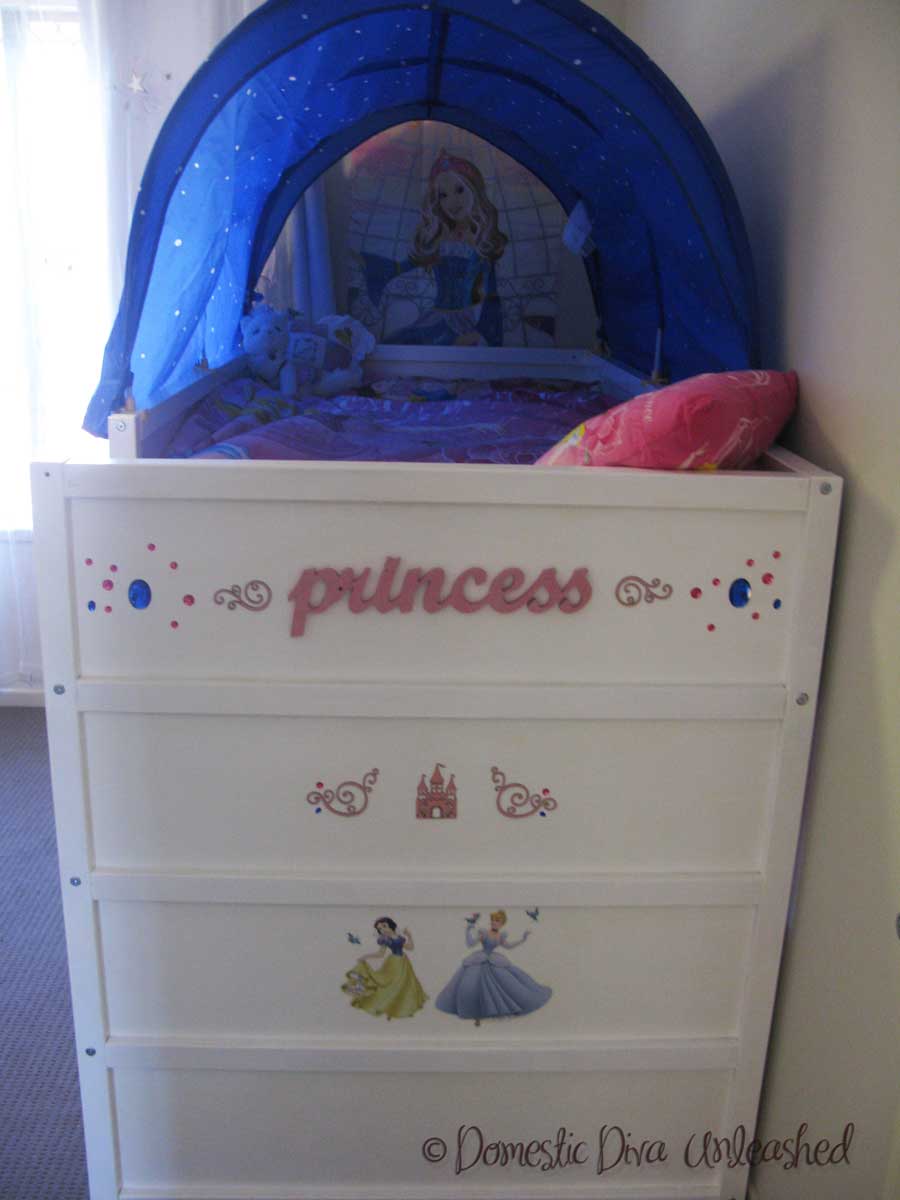
I first primed the timber parts of the bed with a white spray primer. Then painted the whole bed with in a white gloss paint. Although it would have been a lot quicker and easier to use a spray gloss. For the curtains I used a plain pink fabric to match the doona covers. The curtains are attached with elastic curtain cord and 3 little hooks, one at each end and one in the middle. Around the windows I sewed blue dance sequin trim which you can buy by the metre. Then plain blue ribbon used as the tie backs.

The “princess” wooden words and swirls I painted in pink then put a clear glitter paint over the top to give them a little bit of bling. I attached them with wood glue. My daughters stuck on the pink and blue gems, which they had fun doing! I found some cheap fabric Barbie pictures from Lindcraft, I put one at the head of the top bed and one along the bottom wall on the bottom bunk.
I managed to find two cheap bed side lights that can attach on the side of the bed so they can have their own little night light without disturbing the each other.
My 2 little princesses are very happy with the result… oh, and so am I.


I would like to know how you were able to configure the bed so the ladder is on the right side next to the panel. That is how I want to do mine, but the directions call for the ladder to be on the left.
Thank you.
Hi Mary Jost, we actually had instructions come with it for assembling the bed with the ladder each way.
Huge apologies for the late reply, I have just discovered a heap of comments from people in my “spam” folder. 🙁
Which page in the directions did you use after page 12? I want mine to be just like yours and I can’t seem to figure out which way to use. Thank you for your time. (In the process right now)
Hi Rochelle,
It was a few years ago that we put this bed together and have moved hose a few times, I am not sure I still have our original instructions. I will try to have a hunt around for them. If I find them I will add them to the blog post, sorry I can’t be more helpful for you right now…
LOVE this idea! I’ve been obsessing over how I’m going to fit both my girls in one Room and love all the Kura hacks! Love the curtain idea too! I’ll deffinetly be doing this I think!!!
Do you find that the paint doesn’t take well to the wood? I noticed a few people complaining about the paint easily scratching and chipping
Hi Taylah, glad you like it! I found a few spots that I did not sand back enough the paint has started to peel off over time. If you do good prep work it should be fine.